
In the fast-paced world we live in, managing our schedules efficiently is crucial for staying organized and making the most of our time. From juggling work meetings to setting up coffee dates with friends, scheduling can become quite a task. This is where Calendly steps in – a powerful online scheduling tool that can simplify your life. In this guide, we’ll walk you through the ins and outs of Calendly, from getting started to mastering its advanced features.

-
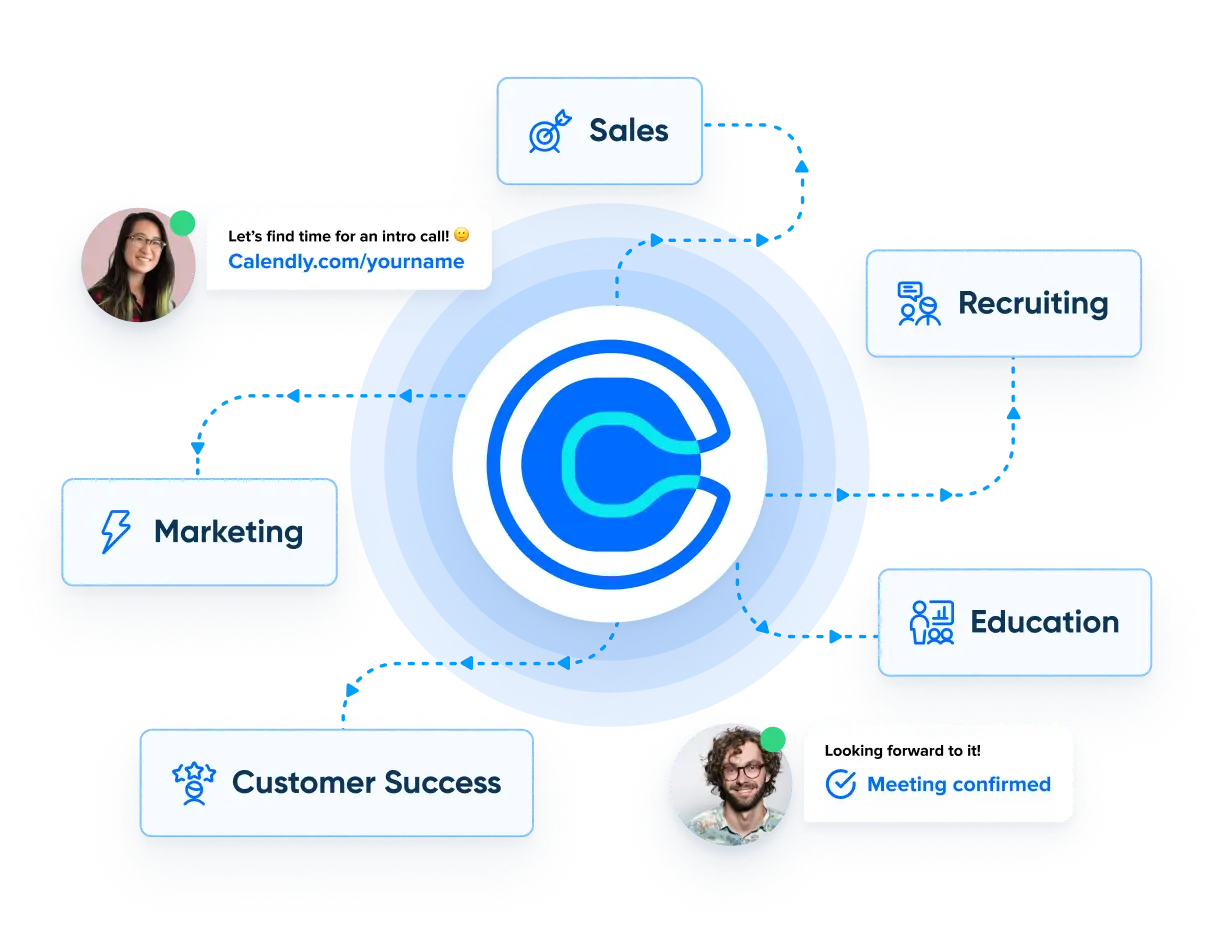
Understanding Calendly: A Game-Changer for Scheduling
Imagine bidding farewell to endless back-and-forth emails just to find a suitable meeting time. Calendly is your scheduling superhero, streamlining the process by letting you set your availability and allowing others to pick a time that works for them. No more scheduling conflicts or confusion. With Calendly, you regain control of your schedule and save valuable time.

-
Getting Started with Calendly
Ready to dive in? Begin by signing up for a Calendly account – a simple process that takes just a few minutes. Once in, connect your calendar, whether it’s Google Calendar, Outlook, or another platform you prefer. This ensures that your existing commitments are seamlessly integrated into Calendly. Next, set your availability preferences. You can choose specific days and times you’re open for meetings. It’s like setting your virtual office hours!
-
Creating Event Types
Now that your foundation is set, it’s time to create your event types. Think of event types as different categories of meetings or appointments you offer. Maybe you have ‘Client Consultation,’ ‘Team Brainstorm,’ and ‘Coffee Chats’ – each with distinct durations and availability. Creating them is a breeze: give your event a name, set its duration, and define buffer times to prevent back-to-back appointments from overwhelming you. Don’t forget to add a brief description or any special instructions to ensure everyone’s on the same page.
-
Customizing Your Scheduling Page
Let’s put a personal touch on your scheduling page. Upload a friendly profile picture and jot down a short bio to introduce yourself. This personal touch can make your invitees feel more comfortable. Choose a color scheme that matches your brand or simply brings a smile to your face. Your scheduling page is your virtual handshake, so make it memorable. Plus, you can craft confirmation and reminder messages to keep your guests in the loop and excited about your upcoming meeting.
-
Sharing Your Calendly Link
With your page perfectly set up, it’s time to share your Calendly link with the world. Whether it’s through emails, social media posts, or embedding it on your website – sharing is a breeze. No need for technical skills; just click ‘copy to clipboard’ and paste your link wherever you’d like. Now, anyone can effortlessly schedule a meeting with you without the hassle of endless email exchanges.
-
Booking a Meeting with Calendly
Your invitees will love how simple it is to book a meeting using Calendly. They’ll click the link you’ve shared, choose from the available slots, provide a few details, and voila – they’ll receive a confirmation email. No more confusion about time zones or double bookings. It’s a seamless experience that takes the stress out of scheduling for everyone involved.
-
Managing Bookings and Integrations
Calendly doesn’t just simplify scheduling; it also helps you stay organized. Easily manage your appointments, avoid overbooking, and sync everything with your favorite calendar apps like Google Calendar or Zoom. It’s like having a personal assistant handling your appointments without the salary!
-
Advanced Features for Enhanced Efficiency
Ready to take your scheduling game to the next level? Calendly’s got you covered. Whether you need to schedule group meetings, distribute appointments fairly with round-robin scheduling, or even collect payments for your services, Calendly’s advanced features have you covered.
-
Best Practices for Effective Scheduling
Now that you’re a Calendly pro, let’s dive into some best practices. First, set realistic availability – don’t overextend yourself. Use buffer times to ensure a breather between meetings. And make your confirmation and reminder emails warm and personal, showing your professionalism and care.
-
Wrapping Up: Embrace Efficient Scheduling with Calendly
With Calendly in your corner, you’re equipped to conquer scheduling challenges and make the most of your time. Say goodbye to scheduling headaches and hello to efficient, hassle-free meetings. It’s time to experience the ease of Calendly for yourself!
Conclusion
Efficiency is at your fingertips with Calendly – a tool designed to simplify your scheduling woes. Embrace this solution to save time, reduce stress, and improve your overall productivity. From creating event types to customizing your scheduling page, Calendly makes every step intuitive. So why wait? Start streamlining your schedule today and unlock a new level of efficiency.
Ready to Master Calendly? We’re Here to Help!
If you’re ready to dive into the world of efficient scheduling with Calendly but want expert guidance, our Calendly consulting services are here for you. We’ll walk you through every step, ensuring you make the most of this powerful tool. Say goodbye to scheduling hassles – click here to learn more and schedule a consultation today!