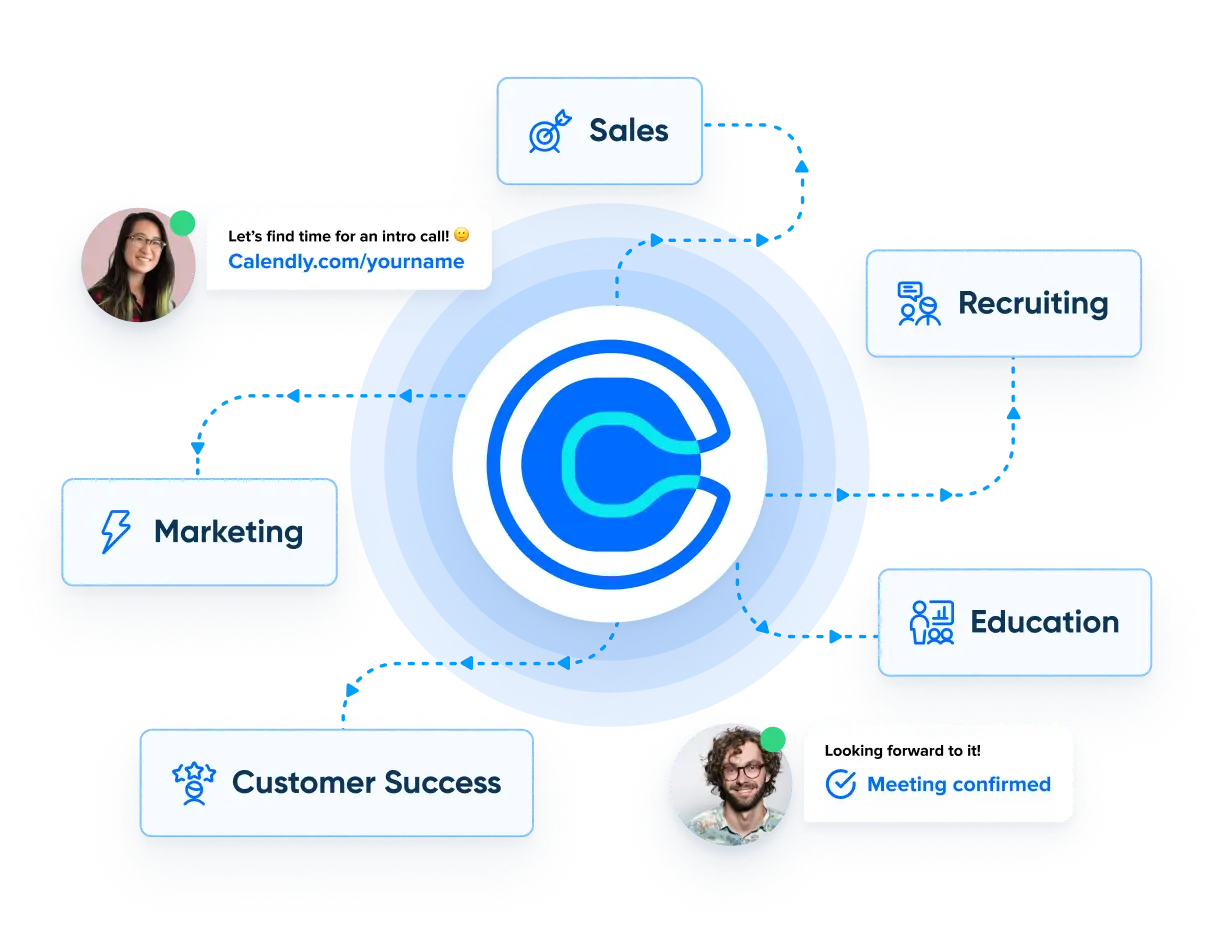
Welcome to the world of Calendly, your go-to tool for scheduling appointments and managing your time efficiently. If you’re tired of the back-and-forth emails and phone calls just to set up a meeting, you’re in the right place.
In this guide, we’ll take you through the process of customizing Calendly to make it work specifically for you. With a few simple tweaks, you can transform your scheduling experience and save precious time. Let’s dive in!

Chapter 1: Getting Started with Calendly
Before we dive into customization, let’s start with the basics. Setting up a Calendly account is easy and free. You’ll need an email address and a few minutes of your time. Once you’re in, you can integrate Calendly with your existing calendar, whether it’s Google Calendar, Outlook, or others. This integration ensures that your availability is always up to date, preventing double bookings and saving you time.

More Bookings. More Revenue. Less Chaos with Calendly.
Calendly Setup – We configure your system so every lead lands with the right rep.
Smart Automations – ollow-ups, reminders, and handoffs run themselves.
Clean Workflows – We cut messy steps so your team’s day flows smooth.
Chapter 2: Understanding Calendly’s Default Settings
Calendly comes with default scheduling settings, but it’s important to understand them before you start customizing. By default, Calendly offers 15-minute time slots for your meetings. You can choose between “One-on-One” and “Group” event types. One-on-One events are ideal for individual appointments, while Group events work well for meetings with multiple participants. While these defaults are a good starting point, you’ll likely want to tailor them to your specific needs, and that’s where customization comes in.
Chapter 3: Customizing Your Event Types
Calendly allows you to create and edit event types, tailoring them to your unique requirements. You can specify the duration of your meetings, add descriptions, and even set locations for in-person appointments. Customizing your event types ensures that your clients or colleagues have a clear understanding of what to expect when they book time with you. Plus, it saves you from having to explain the details repeatedly. So, go ahead and create event types that reflect your business or personal preferences.
Chapter 4: Setting Availability and Limits
Your availability is precious, and you need to manage it wisely. Calendly lets you set your preferred working hours, ensuring you’re only booked when you want to be. Additionally, you can set buffer times between meetings to give yourself a breather or prevent back-to-back appointments. Setting booking limits is essential to avoid overloading your schedule. Whether it’s a daily limit or a maximum number of appointments per week, Calendly lets you take control.
Chapter 5: Branding Your Calendly Page
To make your scheduling process more personal and professional, it’s essential to brand your Calendly page. You can customize it with your brand colors, logo, and a custom scheduling link. Adding a bio and profile picture adds a human touch, helping your clients or colleagues connect with you on a personal level. By branding your page, you not only create a consistent online presence but also make it more inviting for those booking time with you.
Chapter 6: Automating Notifications and Reminders
Nobody likes no-shows or last-minute cancellations. Calendly can help you combat these issues by sending out automated notifications and reminders to both you and your clients. Configure email and SMS notifications to keep everyone in the loop. These gentle nudges reduce the chances of appointments slipping through the cracks and ensure that your schedule runs smoothly.
Chapter 7: Integrating Calendly with Other Tools
Calendly plays nicely with other popular apps, such as Zoom, Google Meet, and CRM software. Integrating these tools can supercharge your scheduling experience. Syncing your calendar with Calendly eliminates the need for manual updates, while connecting it to video conferencing tools simplifies the process of setting up virtual meetings. By leveraging these integrations, you’ll streamline your workflow and provide a seamless experience for your clients or colleagues.
Chapter 8: Collecting Client Information
Knowing who you’re meeting with is often crucial. Calendly lets you create a booking form where you can collect essential client information. Customize the questions based on the type of appointments you offer. This not only helps you prepare for meetings but also demonstrates professionalism and thoroughness to your clients. It’s a win-win.
Chapter 9: Advanced Customizations
For those who want to take their Calendly experience to the next level, there are advanced customization options available. You can delve into CSS customization to create a truly unique Calendly page that aligns with your brand’s look and feel. If you’re keen on automation, explore Zapier integration to create workflows that save you time and effort.
Chapter 10: Analyzing Scheduling Data
Data-driven decisions are the way to go in any business or personal endeavor. Calendly offers insightful analytics that can help you understand your scheduling patterns better. Identify peak booking times and adjust your availability accordingly to maximize your productivity. These data-driven insights will enable you to fine-tune your scheduling approach and make the most of your time.
Personalizing your Calendly experience is a smart move, whether you’re a business owner, a professional, or simply someone who wants to manage their time effectively. By following the steps outlined in this blog post, you’ll unlock the full potential of Calendly and create a scheduling experience that suits your unique needs. Start customizing today, and enjoy the convenience and efficiency of personalized scheduling.
Ready to supercharge your scheduling with Calendly? Our expert consultants are here to help you personalize your Calendly experience and optimize your time management. Contact us today to schedule a consultation and unlock the full potential of Calendly for your business or personal needs. Don’t miss out on the opportunity to streamline your scheduling – take action now!


